A little practical help
Decorate with what you own
The most personal Christmas pieces may already be in your boxes.
Read the guide →Start with a scene you can enjoy at eye level and store without worry.
By Chris McGuire · Updated
The glowing windows are only the beginning. A curve in the path, a little tree and a bit of open space can make the tiny town feel as though a story is about to happen.
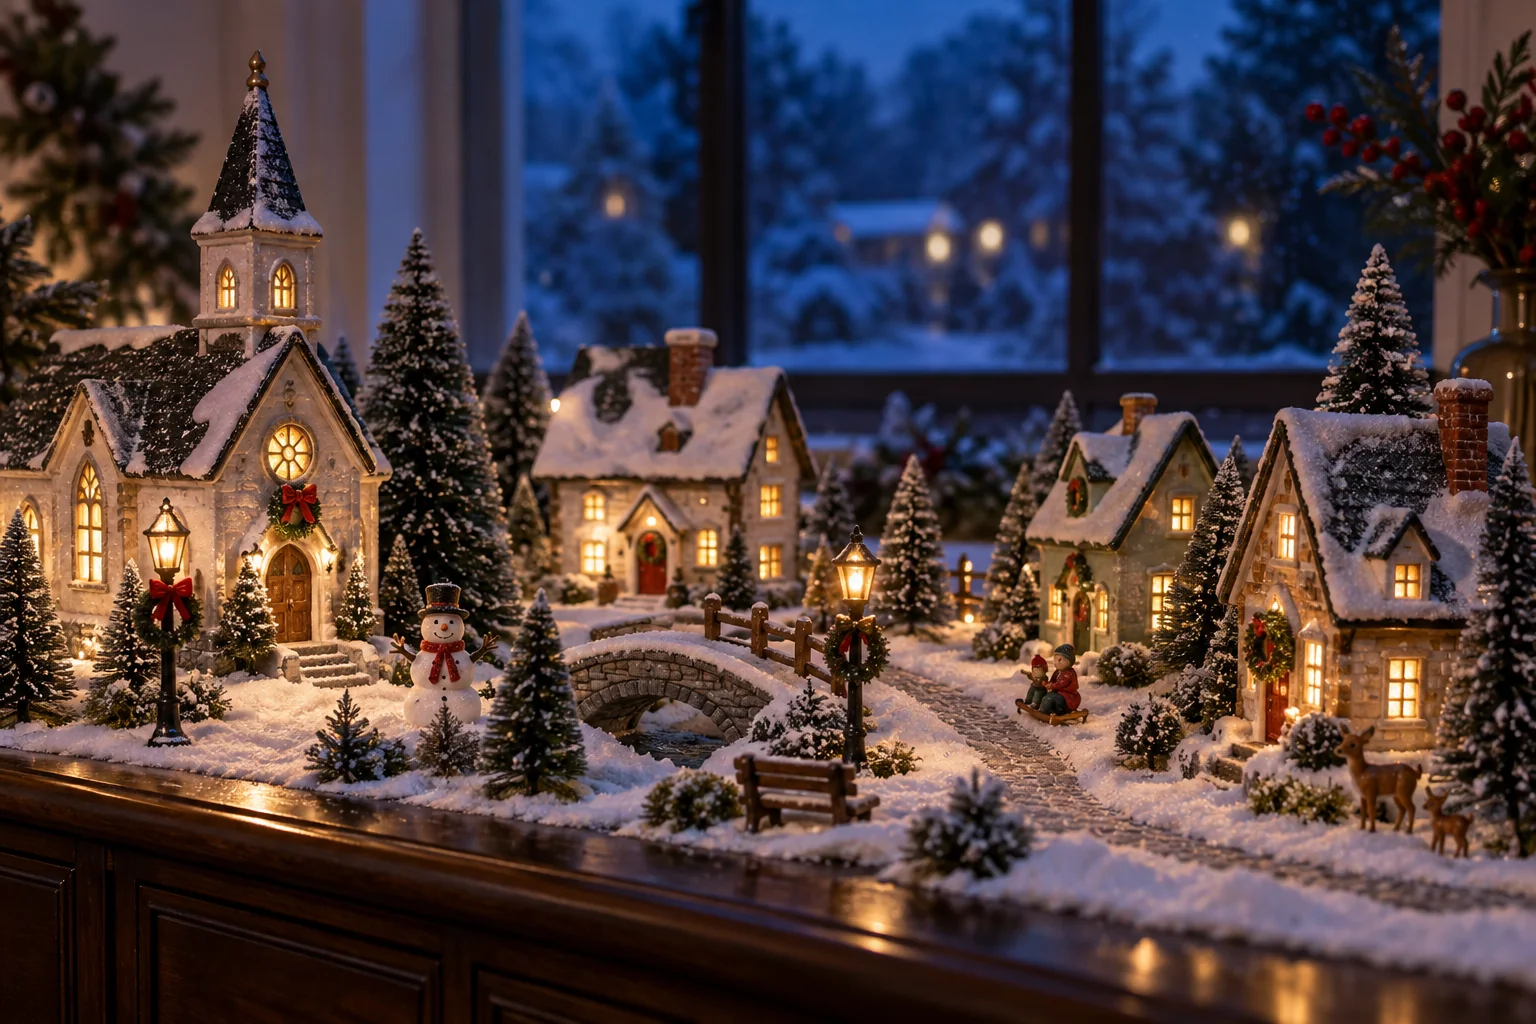 AI illustration
Make a path for the eye as well as the little townspeople. Group buildings, vary their position and leave a clearing where the story can breathe.
Decorating scenes are AI illustrations for inspiration. Use the measurements and guidance below to plan your own display. Our editorial approach.
Worked examples use the stated dimensions. Swap in your measurements; product instructions set the actual limits.
Look for a color, a shape or a small detail you would enjoy living with.
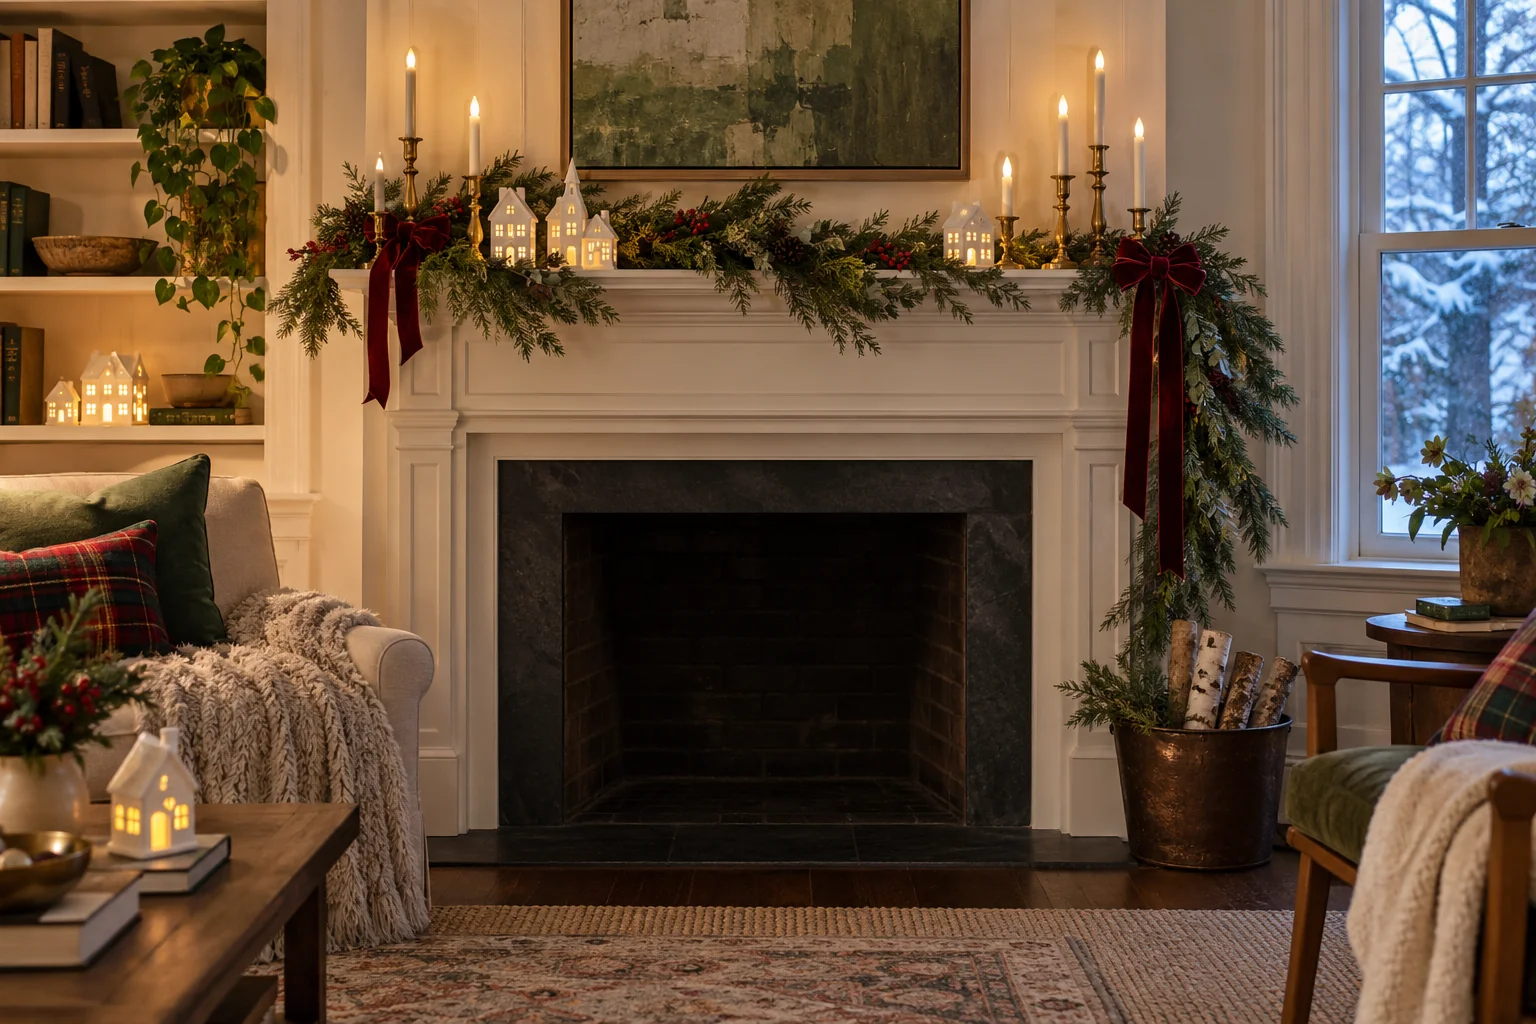 AI illustration
A small collection of pale buildings lets shape and light lead. Leave the controls accessible and the pieces fully supported.
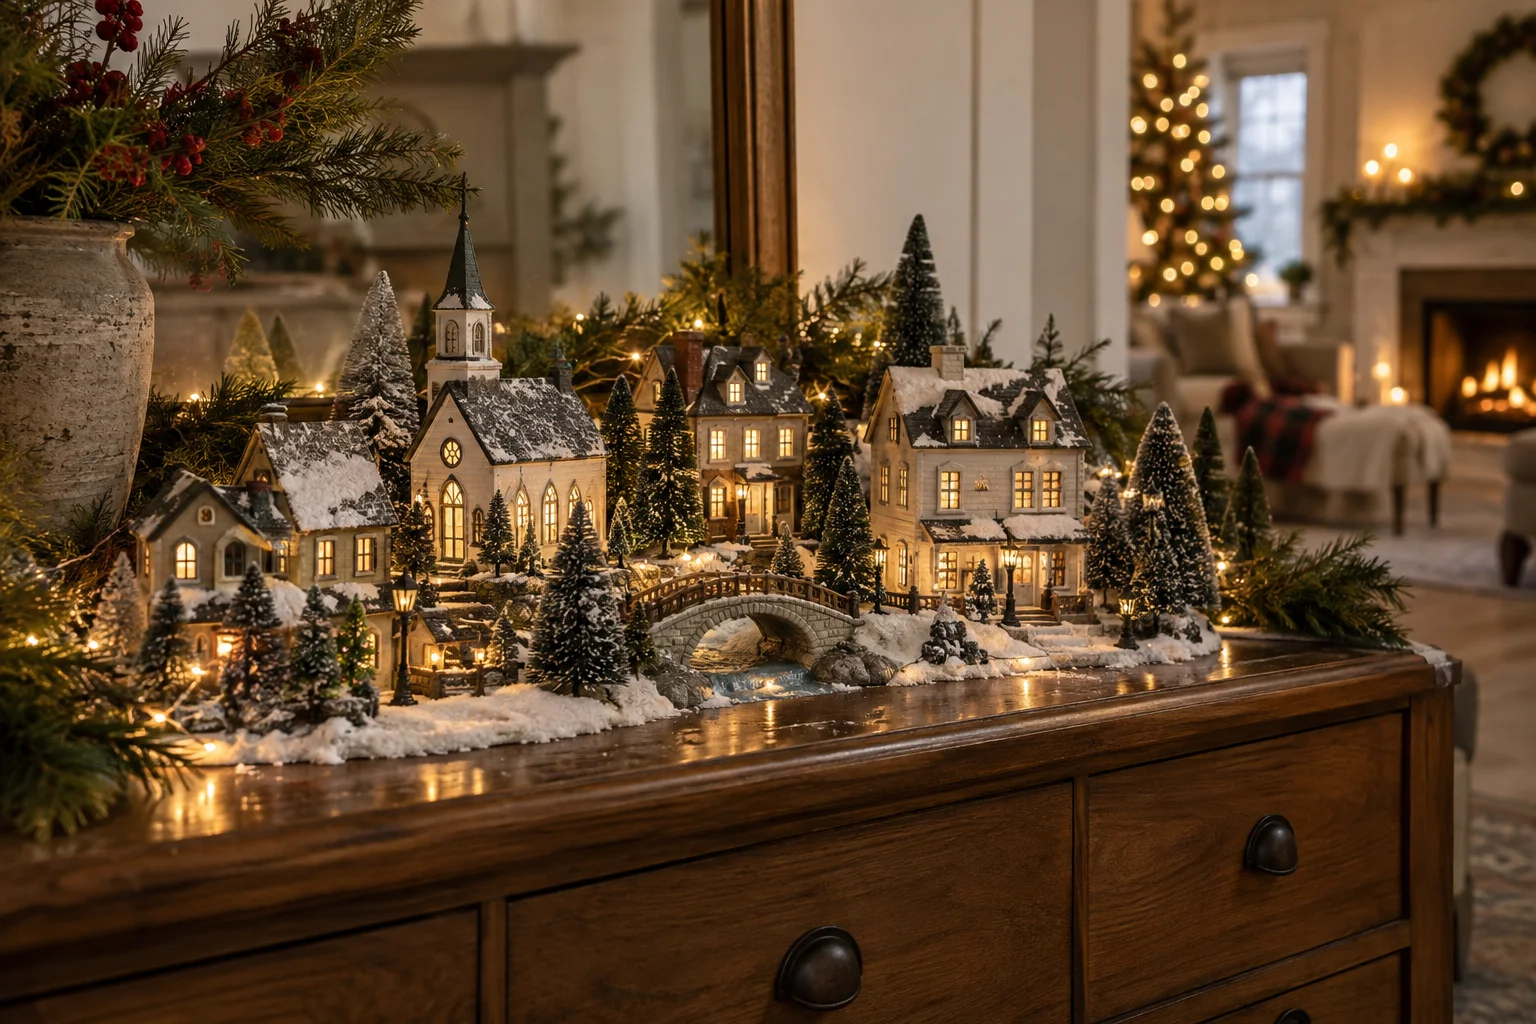 AI illustration
Place a main building first, then add smaller details. Keep space between them instead of treating every gap as something to fill.
A village is more convincing when the buildings relate to one another and the display has room to breathe. Choose a shelf or tabletop first. Sketch the footprint of the largest building, leave access to its controls and build the smaller scene around it.
Start with one or two buildings and a small supporting detail. A restrained scene gives you a clear direction for collecting and is easier to move and store.
| Type | A good fit for | Compare before buying | Tradeoff |
|---|---|---|---|
| Single illuminated building | A complete starting point for a small shelf. | Check dimensions, adapter requirements and access to switches. | A styled photograph may include figures, trees or a base that are sold separately. |
| Coordinated village set | A ready-made group with a consistent visual language. | Confirm exactly which pieces are included and how each is powered. | The combined footprint can be much larger than any individual building. |
| Collectible series | A scene you want to expand over several years. | Compare scale and style with pieces already owned. | Availability changes; avoid buying a large base around a hoped-for future piece. |
| Unlit miniature scene | A simple display without adapters and extra leads. | Check detail visibility from the intended viewing distance. | Small pieces may need a closer viewpoint to have impact. |
Allow space between buildings and behind them for access.
Keep each supply matched to its intended piece.
Compare door heights and figure sizes, not just product names.
Save fitted packaging for fragile structures and projections.
Spending the whole budget on buildings and leaving no space for them. A clear street or empty patch of surface is part of the scene.
Use an existing tray as a boundary and rearrange your buildings before expanding. A new placement can create a new story without a purchase.
A stable display surface, appropriate surface protection and labeled original packaging.
The most personal Christmas pieces may already be in your boxes.
Read the guide →Leave next year a working display, a clear label and fewer mysteries.
Read the guide →A tiny village, a familiar keepsake and a scene worth stopping for.
Make this look your own →Keep a few measurements and your favorite possibilities together. Start with what you have; leave room for the one piece that would make it feel special.
Make my Christmas list →Save a favorite idea, note the space you have and start with the pieces you already love. Add the rest when you’re ready.