Outside
Outdoor Christmas lights
Get the shape, color and length right before you fill the cart.
Explore the possibilities →A few happy ideas, with just enough of a plan.
By Chris McGuire · Updated
Picture the moment you are looking forward to: arriving home, switching on the tree or gathering around the table. That is a lovely place for a plan to begin.
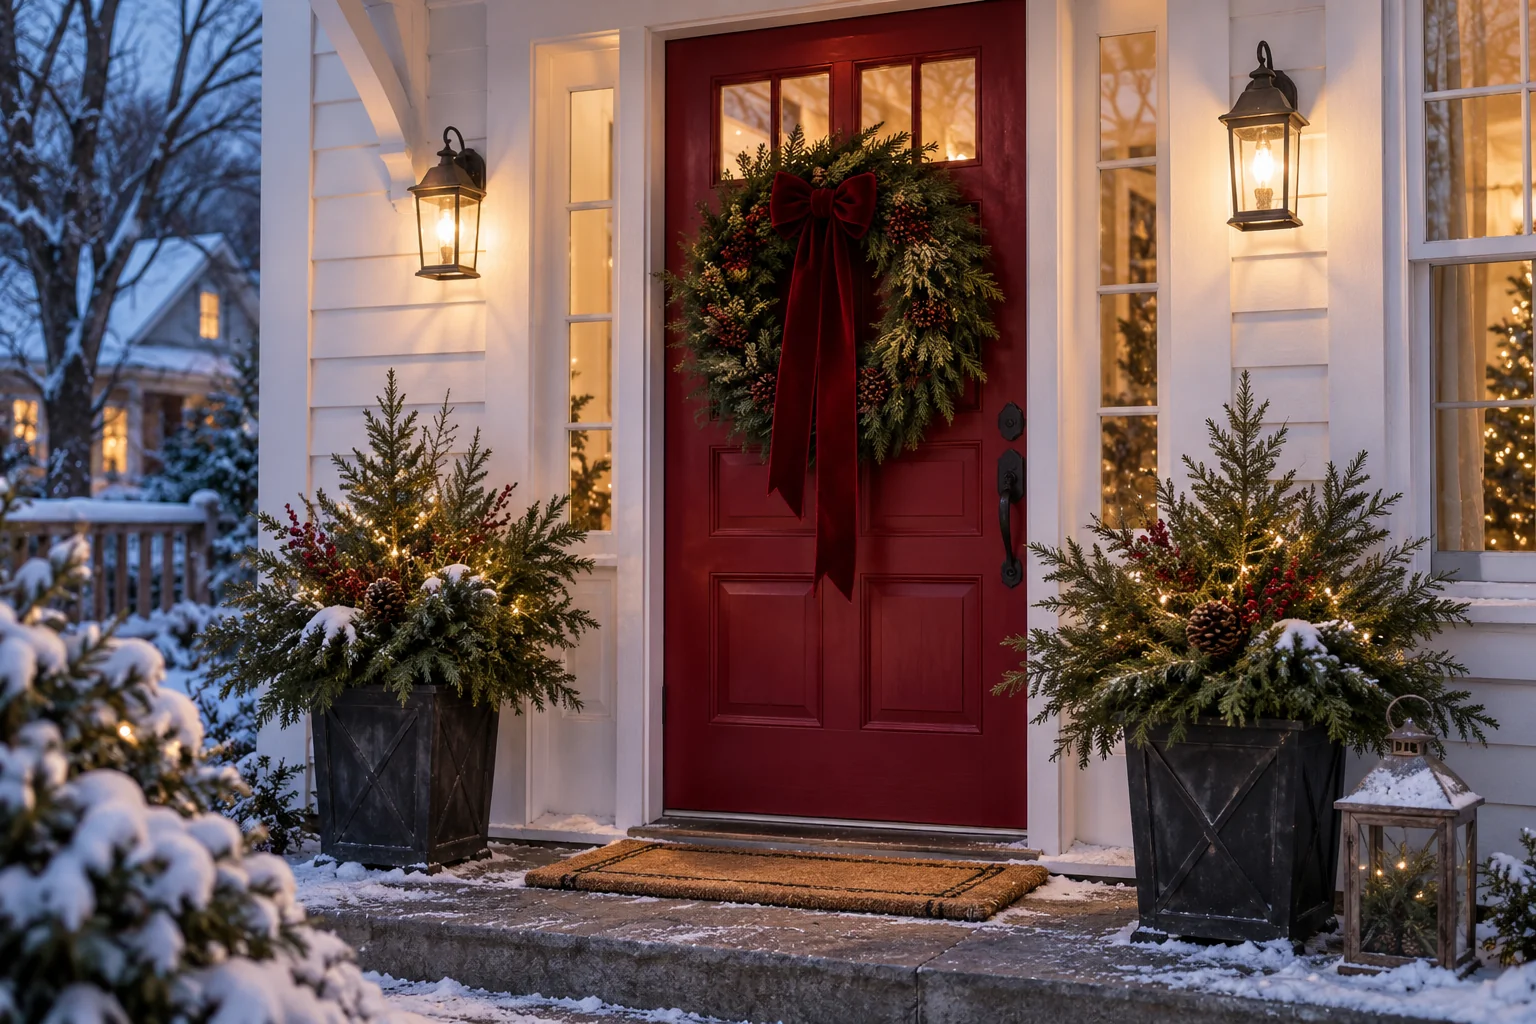 AI illustration
Repeat one red accent at the door and in the planters. The color does the connecting; the greenery can be a lovely mixture.
Decorating scenes are AI illustrations for inspiration. The practical guidance below covers measurements, setup and care.
Choose one place you want to make special and one viewpoint from which it should look good. A porch seen from the sidewalk needs a different arrangement from a living room enjoyed from the sofa. The plan below keeps the decisions in a useful order so purchases solve an actual gap.
Worked examples use the stated dimensions. Swap in your measurements; product instructions set the actual limits.
Write one sentence: “A warm welcome at the front door,” “A colorful family yard,” or “A tree corner that leaves room to play.” Use that sentence to decide what belongs. A second zone can come later; the first should feel complete on its own.
Take a straight-on photograph in daylight and note the viewing distance. Record width, height, depth, doors, paths and usable surfaces. For lights, measure the route you intend to follow and record the separate route to power. Do not use a photograph to estimate a roofline you cannot safely measure.
Group existing decorations into working, needs attention and no longer wanted. Test electrical decorations according to their instructions before putting them in the working group. Photograph sets together so you can compare colors and sizes without unpacking them again.
A little inspiration to carry into the next steps.
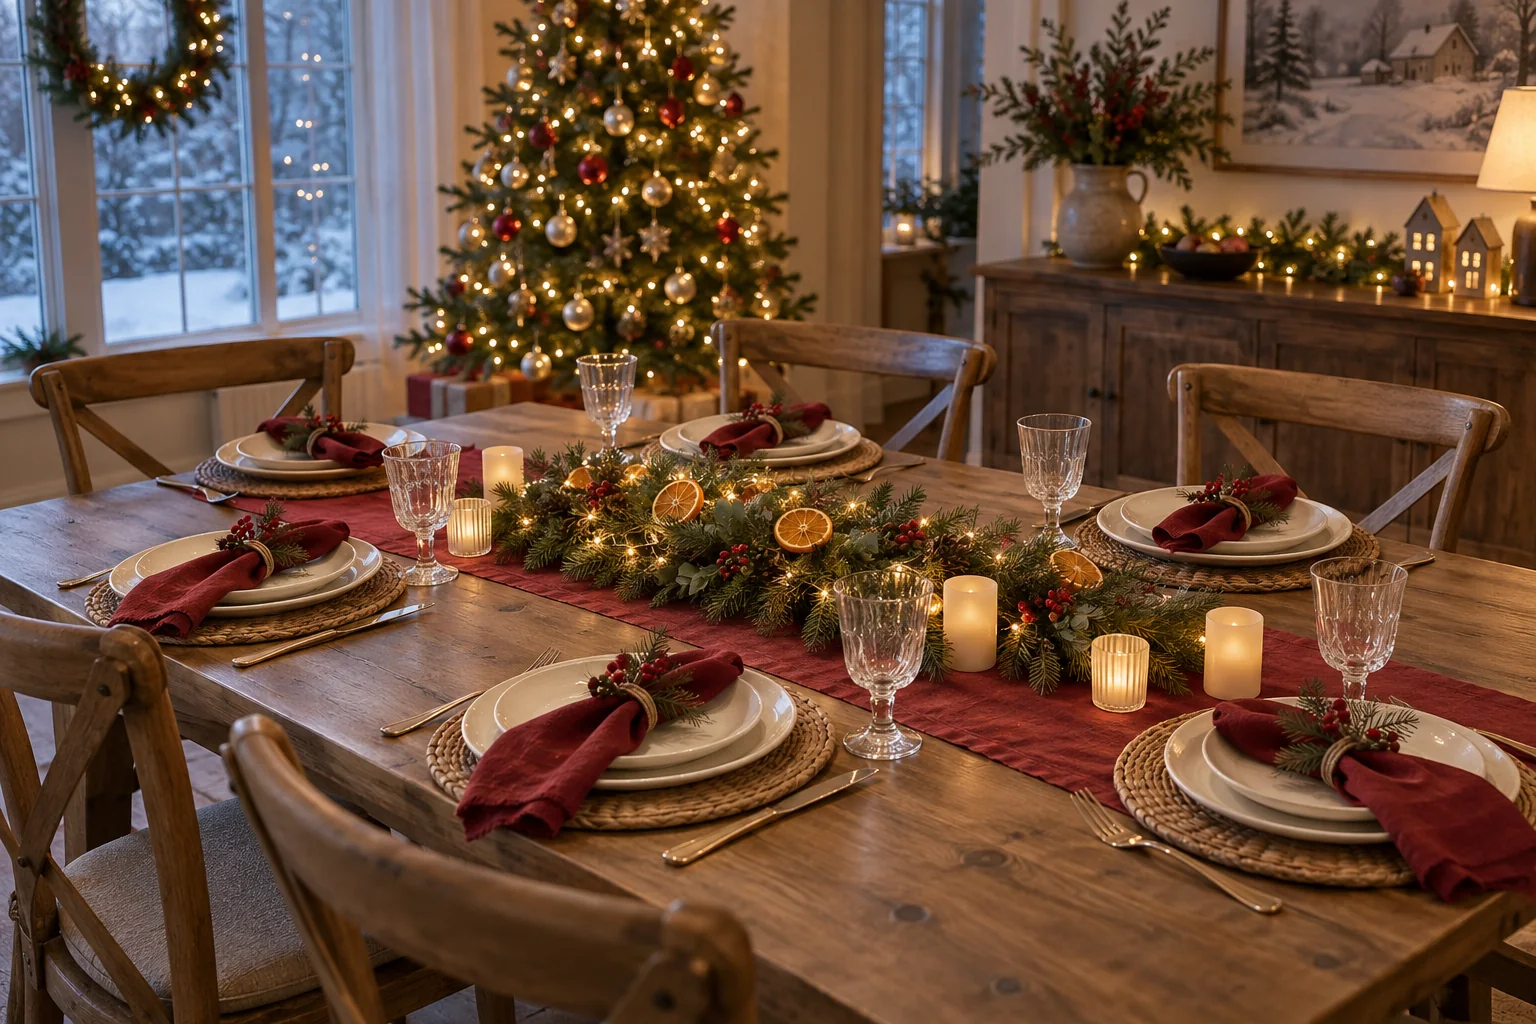 AI illustration
Repeat a ribbon or napkin color at each setting. Keep the centerpiece low and leave generous space for the food, elbows and conversation.
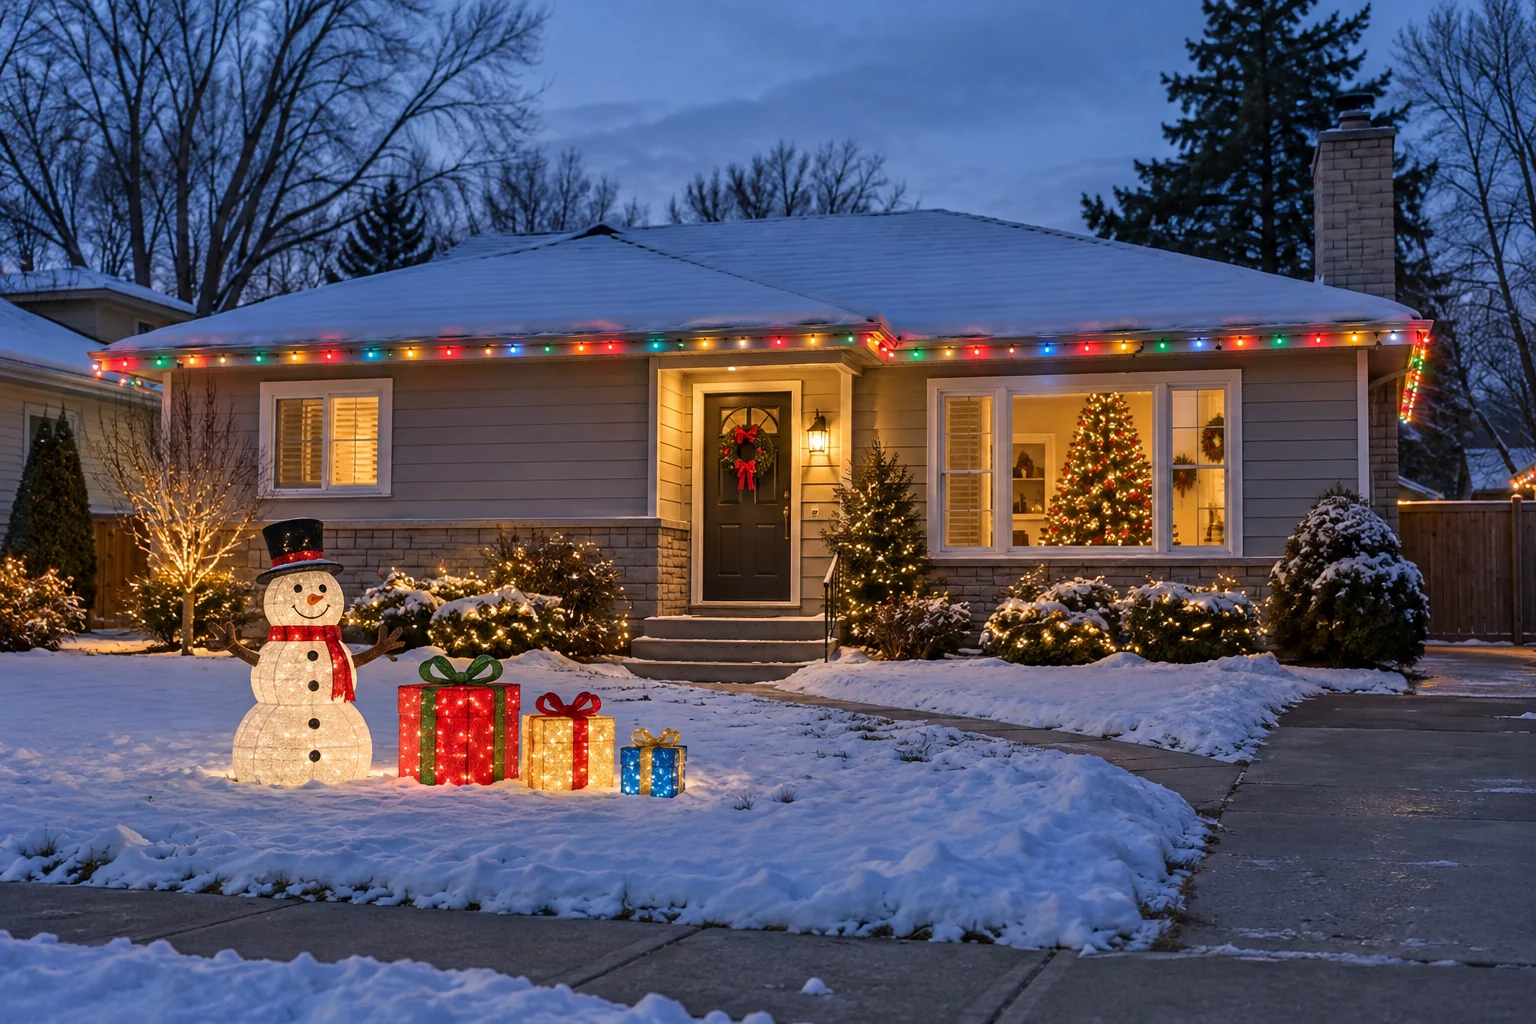 AI illustration
Let one playful character have the spotlight. A simple border of color gives it a setting without filling every patch of lawn.
An anchor might be a wreath, tree or yard figure. A supporting layer might be steady lights or repeated ribbon. Keep a deliberate gap between separate focal points. If everything competes for attention, remove a layer and look again from the main viewpoint.
Include supports, power accessories, batteries and storage, not just the decoration. Add your own current estimates in the planner. Mark existing pieces as Owned so the new-spending total stays useful. Keep a reserve for a genuinely necessary missing component rather than assigning every dollar immediately.
Decide who will help, what can be done from the ground and where each piece will be stored. Keep model numbers and installation instructions with the plan. A smaller display that you can install, maintain and remove comfortably is a better fit than an ambitious one that creates problems every season.
Finish one area first. Keep notes about what felt missing after living with it for a few evenings; that is a better expansion list than buying every idea at once.
Repeating one color or material can connect different areas, but they do not need to be identical. Separate warm-white and colorful zones can each feel deliberate.
Save the items with blank estimates. The planner tells you how many new items still lack a price, so a partial total does not look like a complete budget.
Get the shape, color and length right before you fill the cart.
Explore the possibilities →Give your yard one clear focal point and enough room around it.
Explore the possibilities →A tree should fit your room, your ornaments and your December routine.
Explore the possibilities →Save a favorite idea, note the space you have and start with the pieces you already love. Add the rest when you’re ready.