Outside
Outdoor Christmas lights
Get the shape, color and length right before you fill the cart.
Explore the possibilities →Lay it out, check it, then install one reachable section at a time.
By Chris McGuire · Updated
Enjoy the idea first, then work through the setup in manageable pieces. Keep the clear entrance, comfortable reach and daily routine part of the picture.
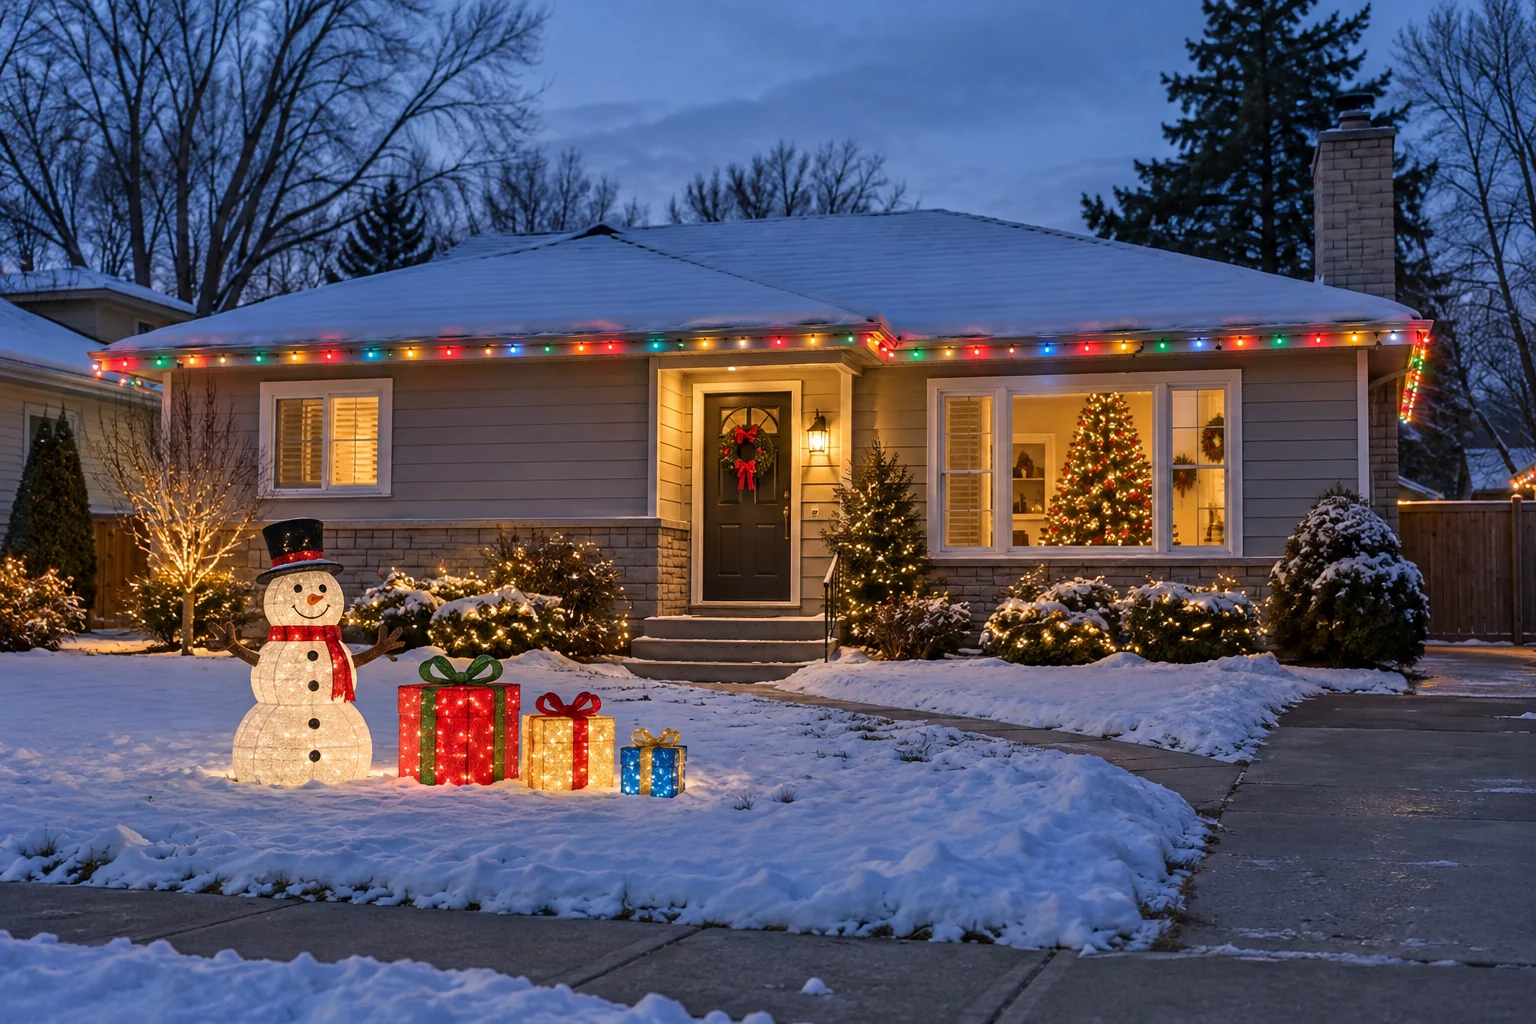 AI illustration
Let one playful character have the spotlight. A simple border of color gives it a setting without filling every patch of lawn.
Decorating scenes are AI illustrations for inspiration. The practical guidance below covers measurements, setup and care.
Plan a display that matches your property, equipment and ability. This checklist focuses on organization and ground-level preparation. Follow each product’s instructions, and use a qualified professional for electrical work or installations beyond your safe access.
Worked examples use the stated dimensions. Swap in your measurements; product instructions set the actual limits.
In daylight, identify the viewing area, the decoration area and the routes that people need to use. Keep entrances, steps and walking routes clear. Include tether lines, support feet and the place inflatable fabric will rest when deflated.
Inspect light strings and cords for damage and use decorations rated for the location. Retire damaged equipment rather than hiding it in the arrangement. Keep the original instructions available, especially for connectors, supports and power supplies.
Use outdoor-suitable equipment and GFCI protection where required for the setup. Keep connections away from standing water and follow their enclosure and placement directions. Do not route cords through door or window pinch points. Ask an electrician when suitability or capacity is uncertain.
A little inspiration to carry into the next steps.
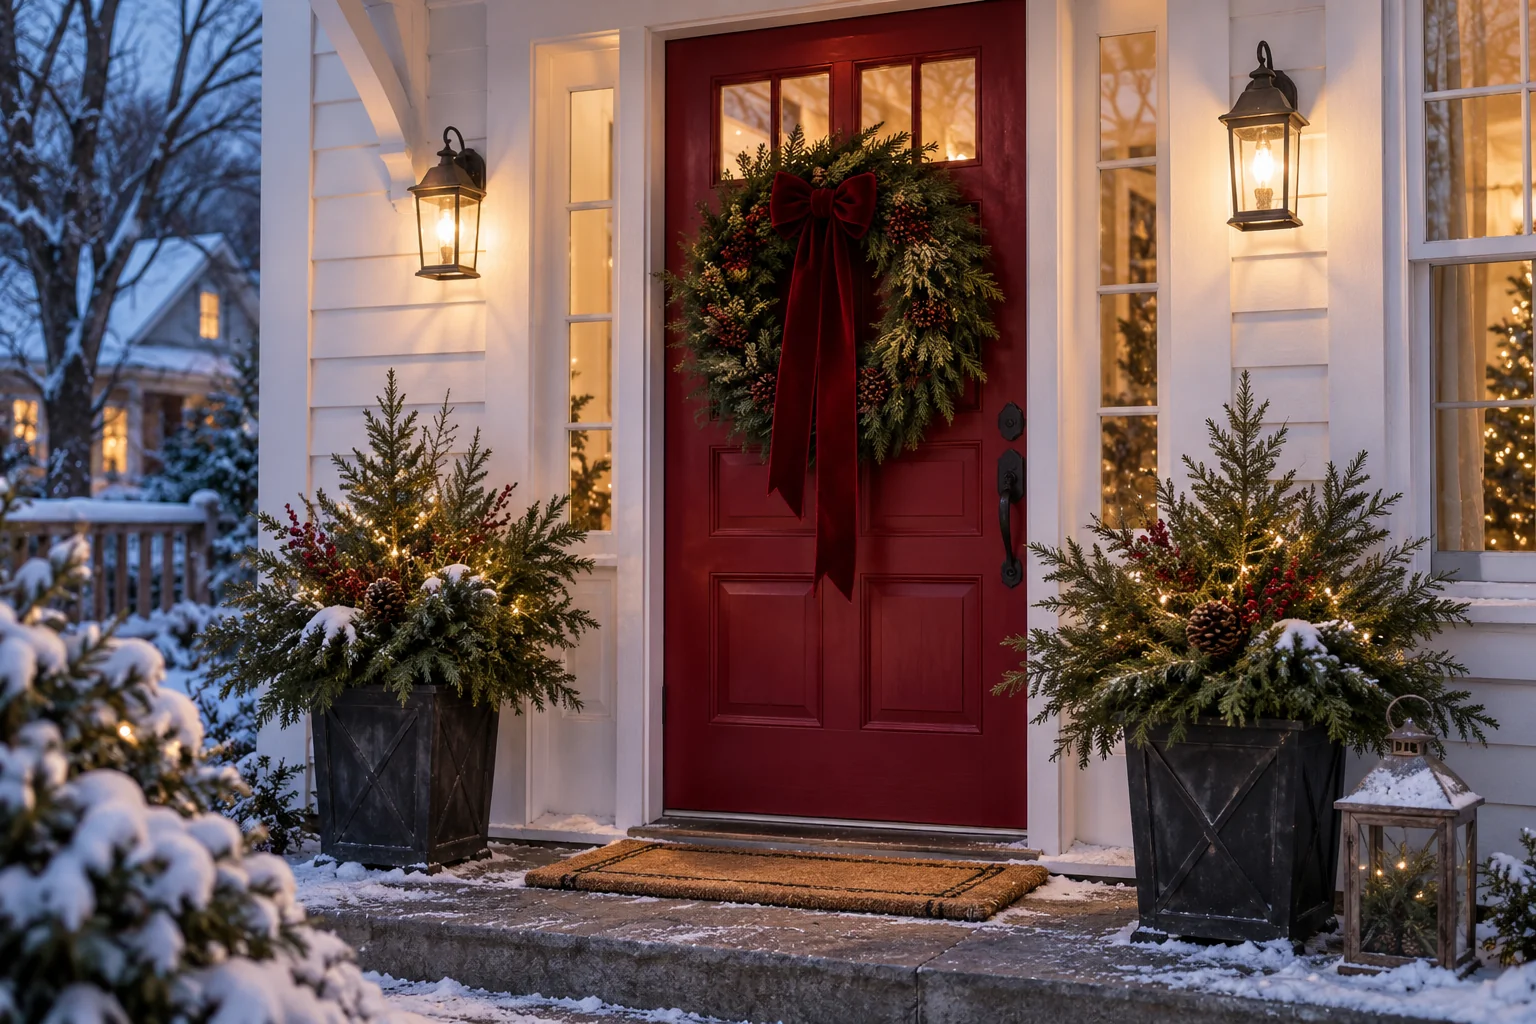 AI illustration
Repeat one red accent at the door and in the planters. The color does the connecting; the greenery can be a lovely mixture.
 AI illustration
A repeated shape can tell the whole story. Carry the red-and-white idea toward the entrance while leaving the walking surface clear.
Place the major pieces, then check the view from the street or path. Confirm that supports and cables can be positioned correctly before connecting power. Follow the maker’s anchoring instructions; decorations should not rely on their electrical leads for support.
Once properly installed, check operation and controls. Verify the preferred mode after a timer switches power off and back on. Set an appropriate shutoff time and see whether bright or moving effects shine into nearby rooms.
Look for movement, damaged parts, moisture issues and blocked fan intakes as appropriate to the product. Follow weather-related shutdown and removal instructions. Stop using a setup that repeatedly trips protection; do not bypass or repeatedly reset it without resolving the cause.
Do not assume so. Use the product’s location rating and instructions for the actual conditions.
Do not hide a cable in a way that creates damage, heat or a trip risk. Redesign the route using appropriate equipment and guidance.
Choose a reachable display or engage an appropriately equipped professional. This guide does not provide roof-access instructions.
Get the shape, color and length right before you fill the cart.
Explore the possibilities →The attachment is part of the display. Choose it before you decorate.
Explore the possibilities →Plan the route to power as carefully as the route of the lights.
Explore the possibilities →Save a favorite idea, note the space you have and start with the pieces you already love. Add the rest when you’re ready.