Outside
Outdoor Christmas lights
Get the shape, color and length right before you fill the cart.
Explore the possibilities →Shape, color, coverage, control. Make those four decisions in order.
By Chris McGuire · Updated
Before comparing bulb counts, notice the effect you love. These scenes offer a few different moods to keep in mind as you read the practical checks.
 AI illustration
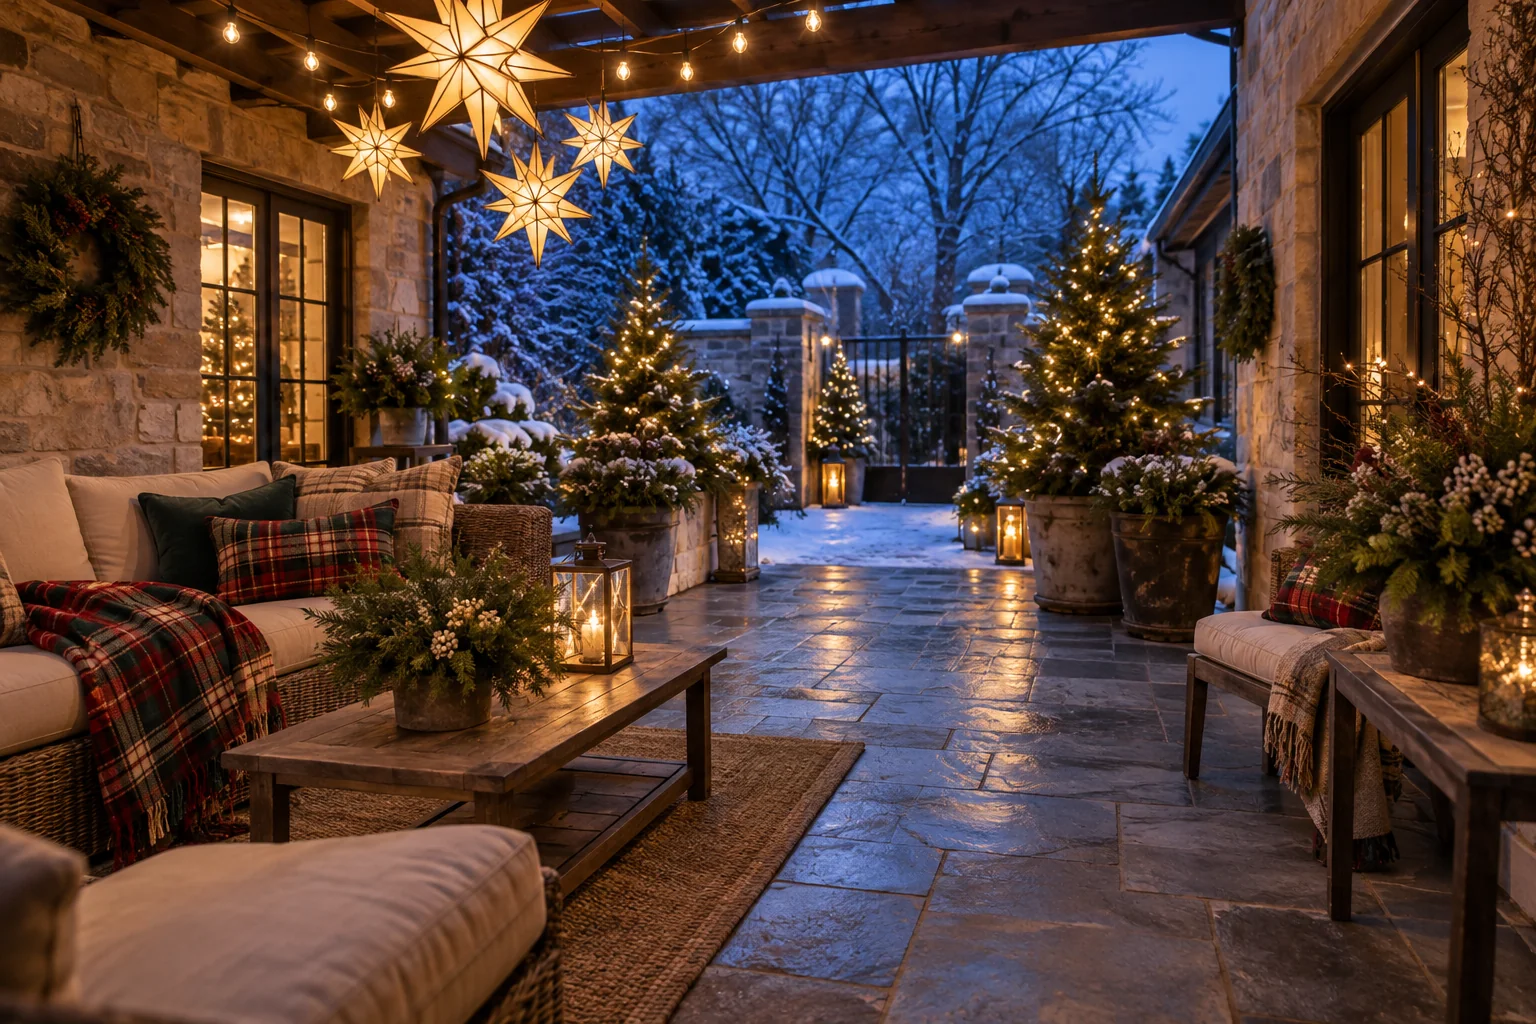
Bring the sparkle into a space you actually use. Repeat a star shape or a warm glow, and choose fixtures suited to the setting.
Decorating scenes are AI illustrations for inspiration. The practical guidance below covers measurements, setup and care.
The bulb count is only one part of the choice. A string with many closely spaced mini lights creates a different effect from larger bulbs with more space between them. Start with the surface and the desired visual effect, then use the exact product specifications to confirm fit.
Worked examples use the stated dimensions. Swap in your measurements; product instructions set the actual limits.
Sources checked September 16, 2026: Christmas Light Source: tree-light estimating guide.
Larger bulb shapes make a clear outline; mini lights can sit within greenery; nets cover a compatible rectangular or rounded area; curtains and icicles hang below their support. Choose the form that follows the space naturally instead of forcing a shape into a location it does not fit.
Decide what you want to see on an ordinary evening. For whites, compare the exact series or stated color temperature where available. For multicolor, notice the mix of colors as well as brightness. If you already own lights, use their model information when looking for a match.
Separate the portion with bulbs from the unlit lead and any end connector. A 20-foot route needs 20 feet of useful coverage, regardless of how long the complete cable is. Wrapped posts and deep swags consume extra length; use a string mockup to measure the pattern you actually want.
A little inspiration to carry into the next steps.
 AI illustration
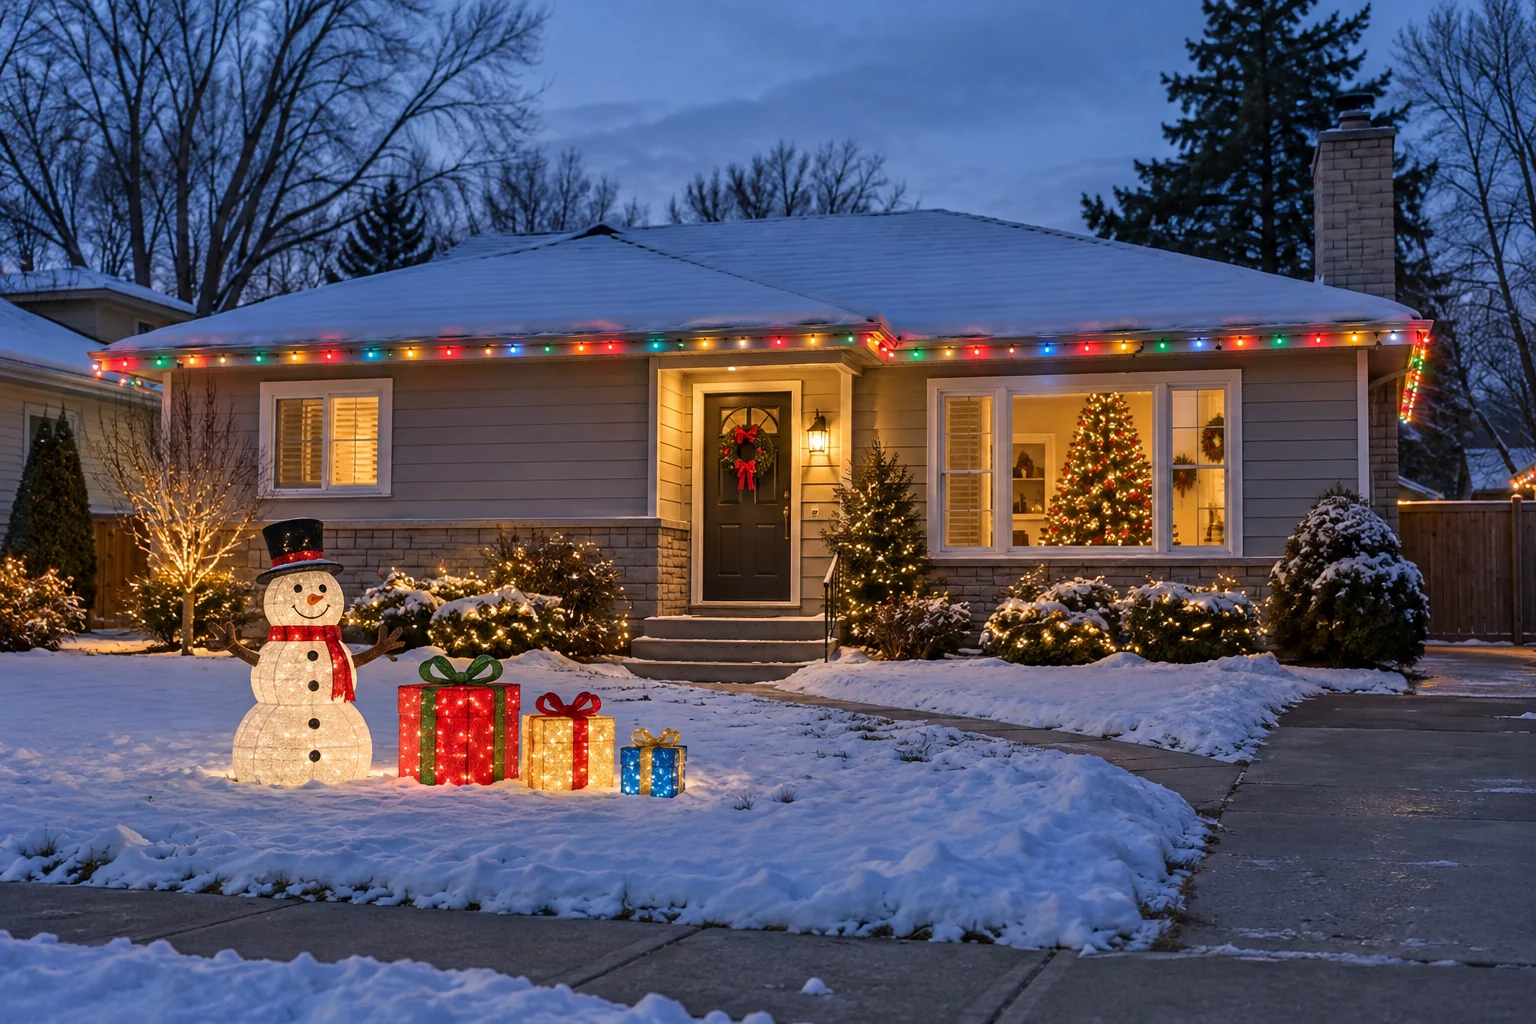
Let one playful character have the spotlight. A simple border of color gives it a setting without filling every patch of lawn.
 AI illustration
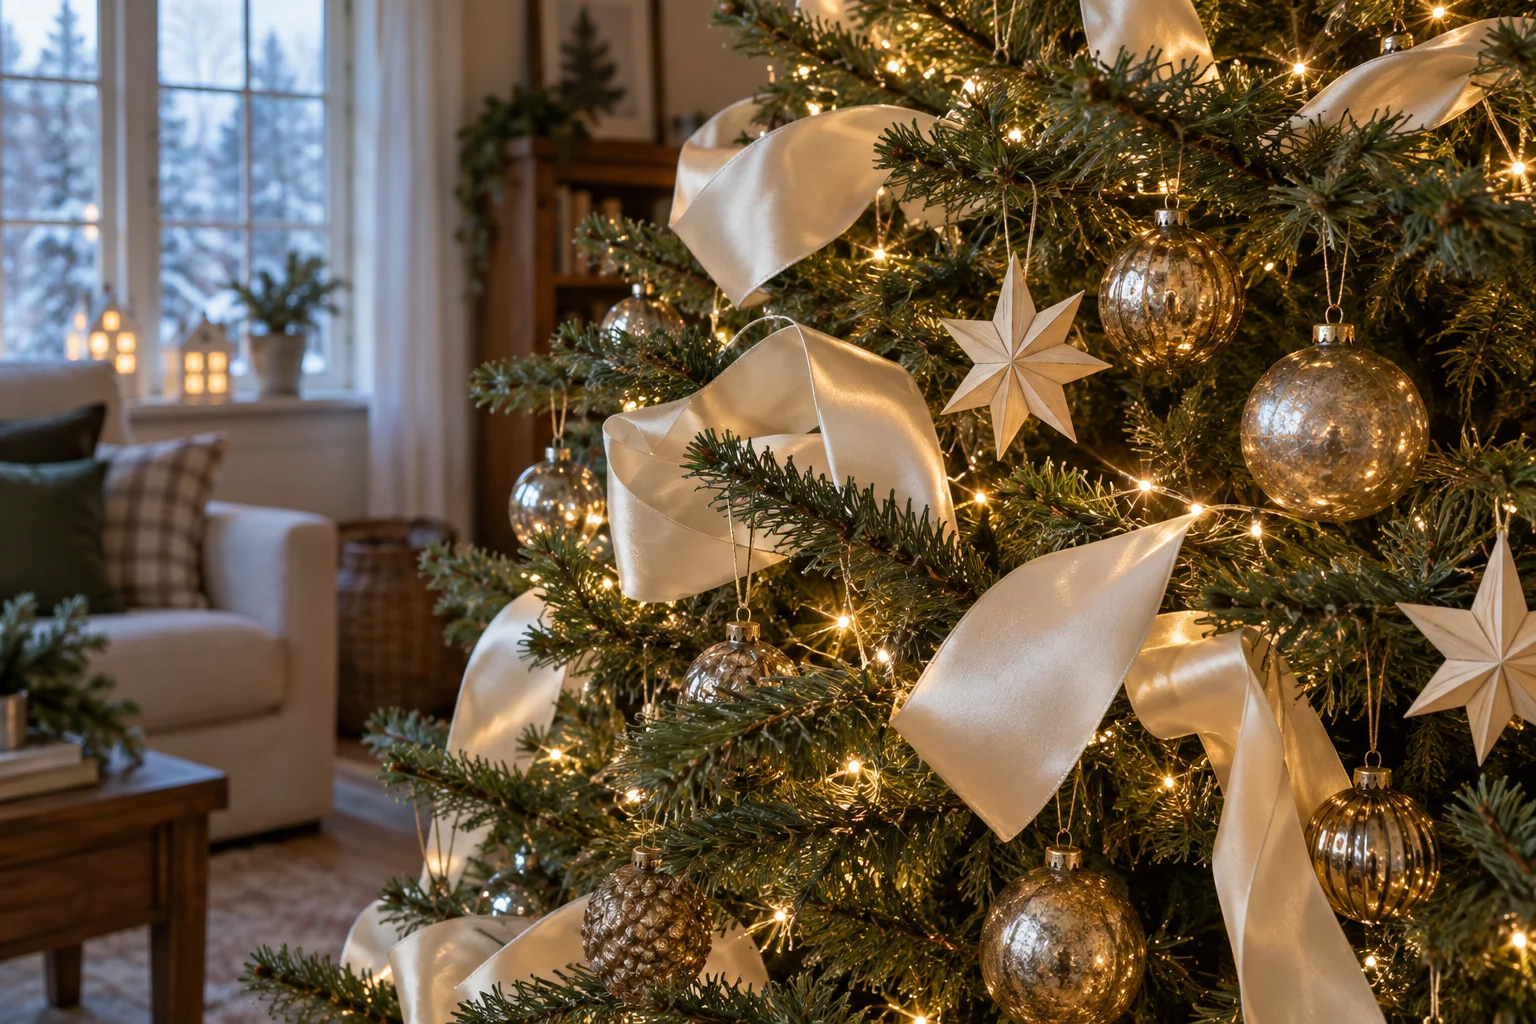
Mix matte, shiny and soft textures. Tuck ribbon in loose sections so the branches and favorite ornaments still have room to show.
Check the exact set’s permitted connections, compatible extensions and power components. Do not mix systems because the connectors look similar. Keep any supplied adapter with its original set and record the model so replacements can be matched correctly.
A timer may be enough for a steady display. App control can add colors and scenes, but check network requirements, physical controls and behavior after a power interruption. Test that the setup returns to your preferred mode before installing it in a hard-to-reach place.
Lay out the lights and check operation as directed, then trial a safely reachable section with the right supports. Look from the intended viewing point. Confirm spacing, color and whether the cable stands out before committing the whole display.
No. Compare useful length, spacing, brightness, construction and suitability for the job. Count alone does not tell you how the installation will look.
They can be used in separate appropriate areas, but the whites may look different. Verify compatibility before physically connecting any sets.
Compare a suitable timer first. Smart lights are more compelling when you will use their color or scene controls, not only their on/off schedule.
Get the shape, color and length right before you fill the cart.
Explore the possibilities →Choose the control you will actually use after the first evening.
Explore the possibilities →Plan the route to power as carefully as the route of the lights.
Explore the possibilities →Save a favorite idea, note the space you have and start with the pieces you already love. Add the rest when you’re ready.